Your Essential Checklist for a Perfect Pool Opening
The days are getting longer and warmer across the Baltimore area, and that means one thing: pool season is just around the corner. Before you can start planning those weekend barbecues and lazy afternoons floating in the sun, there's one important task to tackle—opening your pool. While the thought of removing that winter cover can be daunting, a methodical approach can prevent common headaches like cloudy water, equipment damage, and weeks of frustration. This guide provides a comprehensive checklist to ensure a smooth, successful opening, setting you up for a perfect summer of swimming.
Step 1: Pre-Opening Prep – Gather Your Gear and Clear the Decks
A successful pool opening begins before you even touch the cover. Taking an hour to prepare will save you time and stress later. Start by clearing any leaves, branches, and debris from your pool deck and surrounding area to prevent them from ending up in the water.
Next, take inventory of your supplies. You don't want to be halfway through the process only to realize you're missing a crucial chemical. Here’s what you should have on hand:
- Pool Cover Pump: To remove any standing water from your winter cover.
- Cleaning Tools: A soft broom or brush for the cover, a telepole, skimmer net, and pool brush.
- Safety Gear: Gloves and safety glasses are a must when handling chemicals.
- Startup Chemicals: You'll need a fresh water testing kit, pH increaser and decreaser, alkalinity increaser, calcium hardness increaser, and pool shock (calcium hypochlorite).
- O-Rings & Lubricant: It's wise to have replacement O-rings for your pump and filter, along with a tube of pool-grade lubricant.
Once you have everything organized, you're ready to begin the real work.
Step 2: The Big Unveiling – Removing the Cover and Initial Cleaning
That murky water on top of your winter cover is full of decaying leaves, dirt, and other contaminants. The last thing you want is for that mess to fall into your pool. Use a cover pump to remove as much standing water as possible. Then, use a soft broom or skimmer to sweep off the remaining debris.
With the cover clear, it's time to remove it. This is much easier with two people. Carefully lift the cover off, trying to let as little debris as possible fall into the water. Find a clean, flat area on your lawn or driveway to spread it out. Hose it down, use a gentle cleaner if needed, and let it dry completely before folding and storing it in a dry, pest-free location. Proper storage is key to extending the life of your cover.
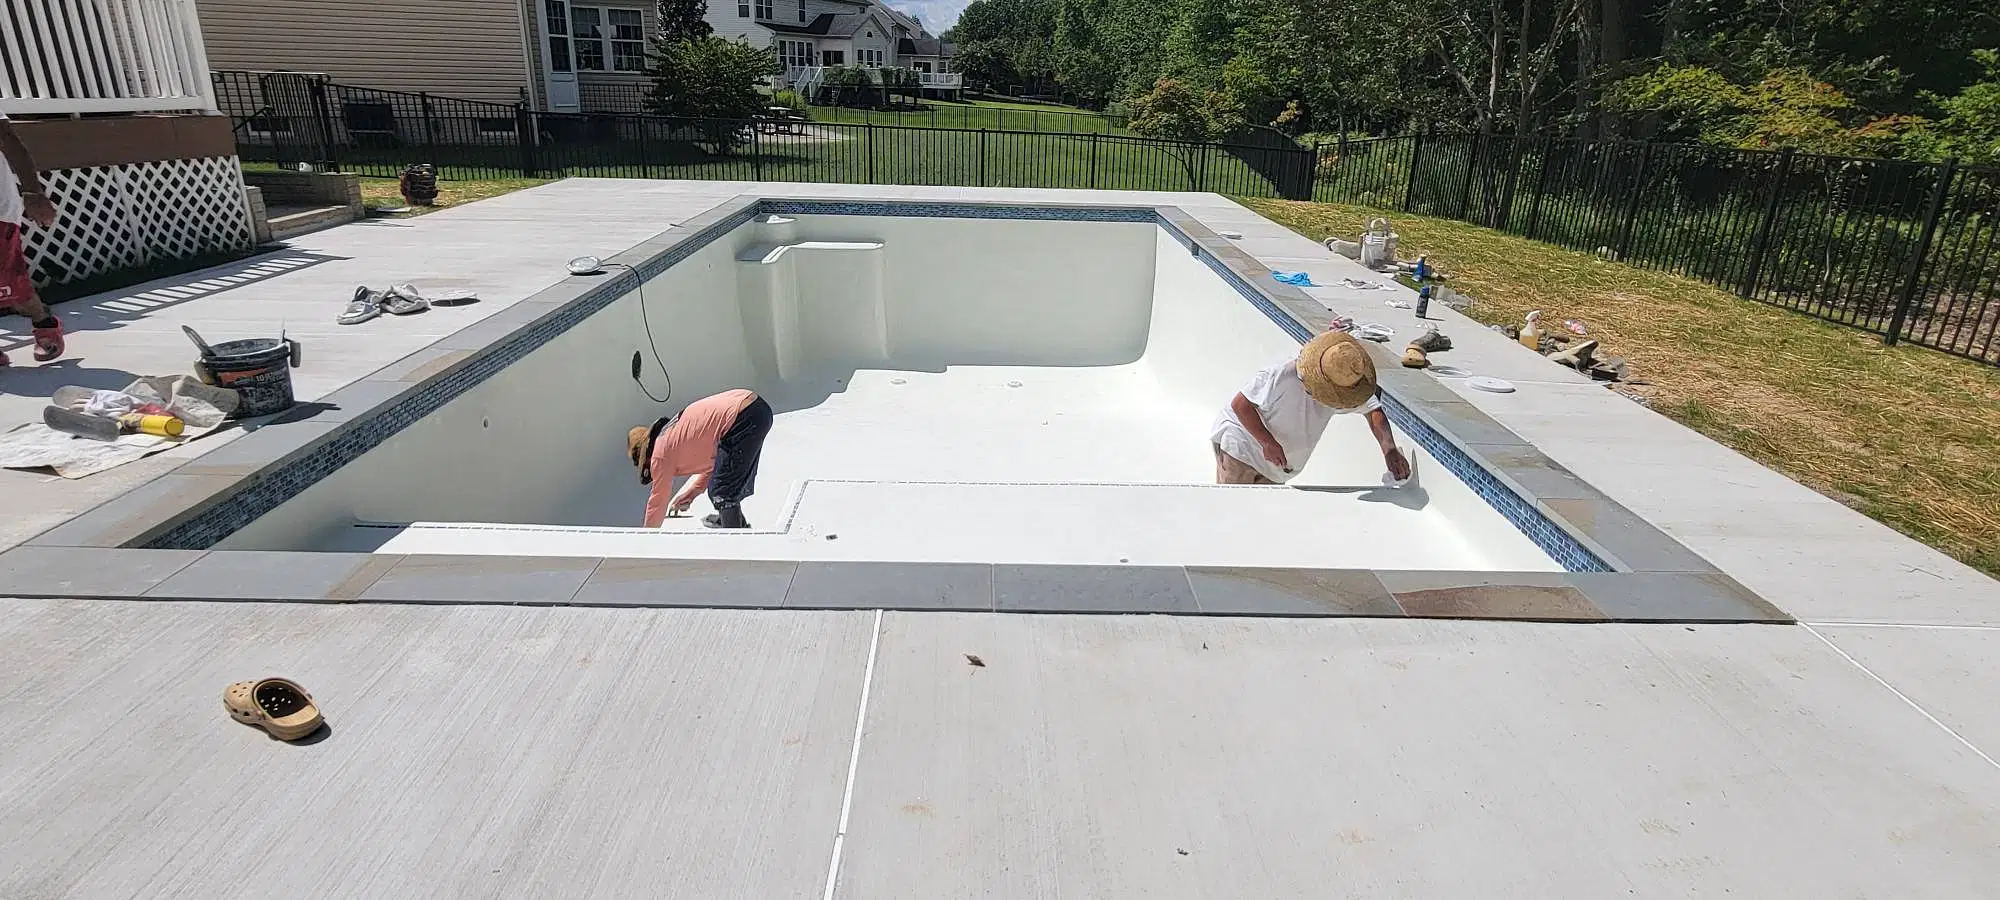
Now, take a look at your pool. Don't be alarmed if it looks more like a pond. Use your skimmer net to remove all the large debris you can. Then, give the walls, steps, and floor a thorough brushing to loosen any algae and dirt that has settled over the winter.
Step 3: Waking Up the System – Equipment Inspection and Startup
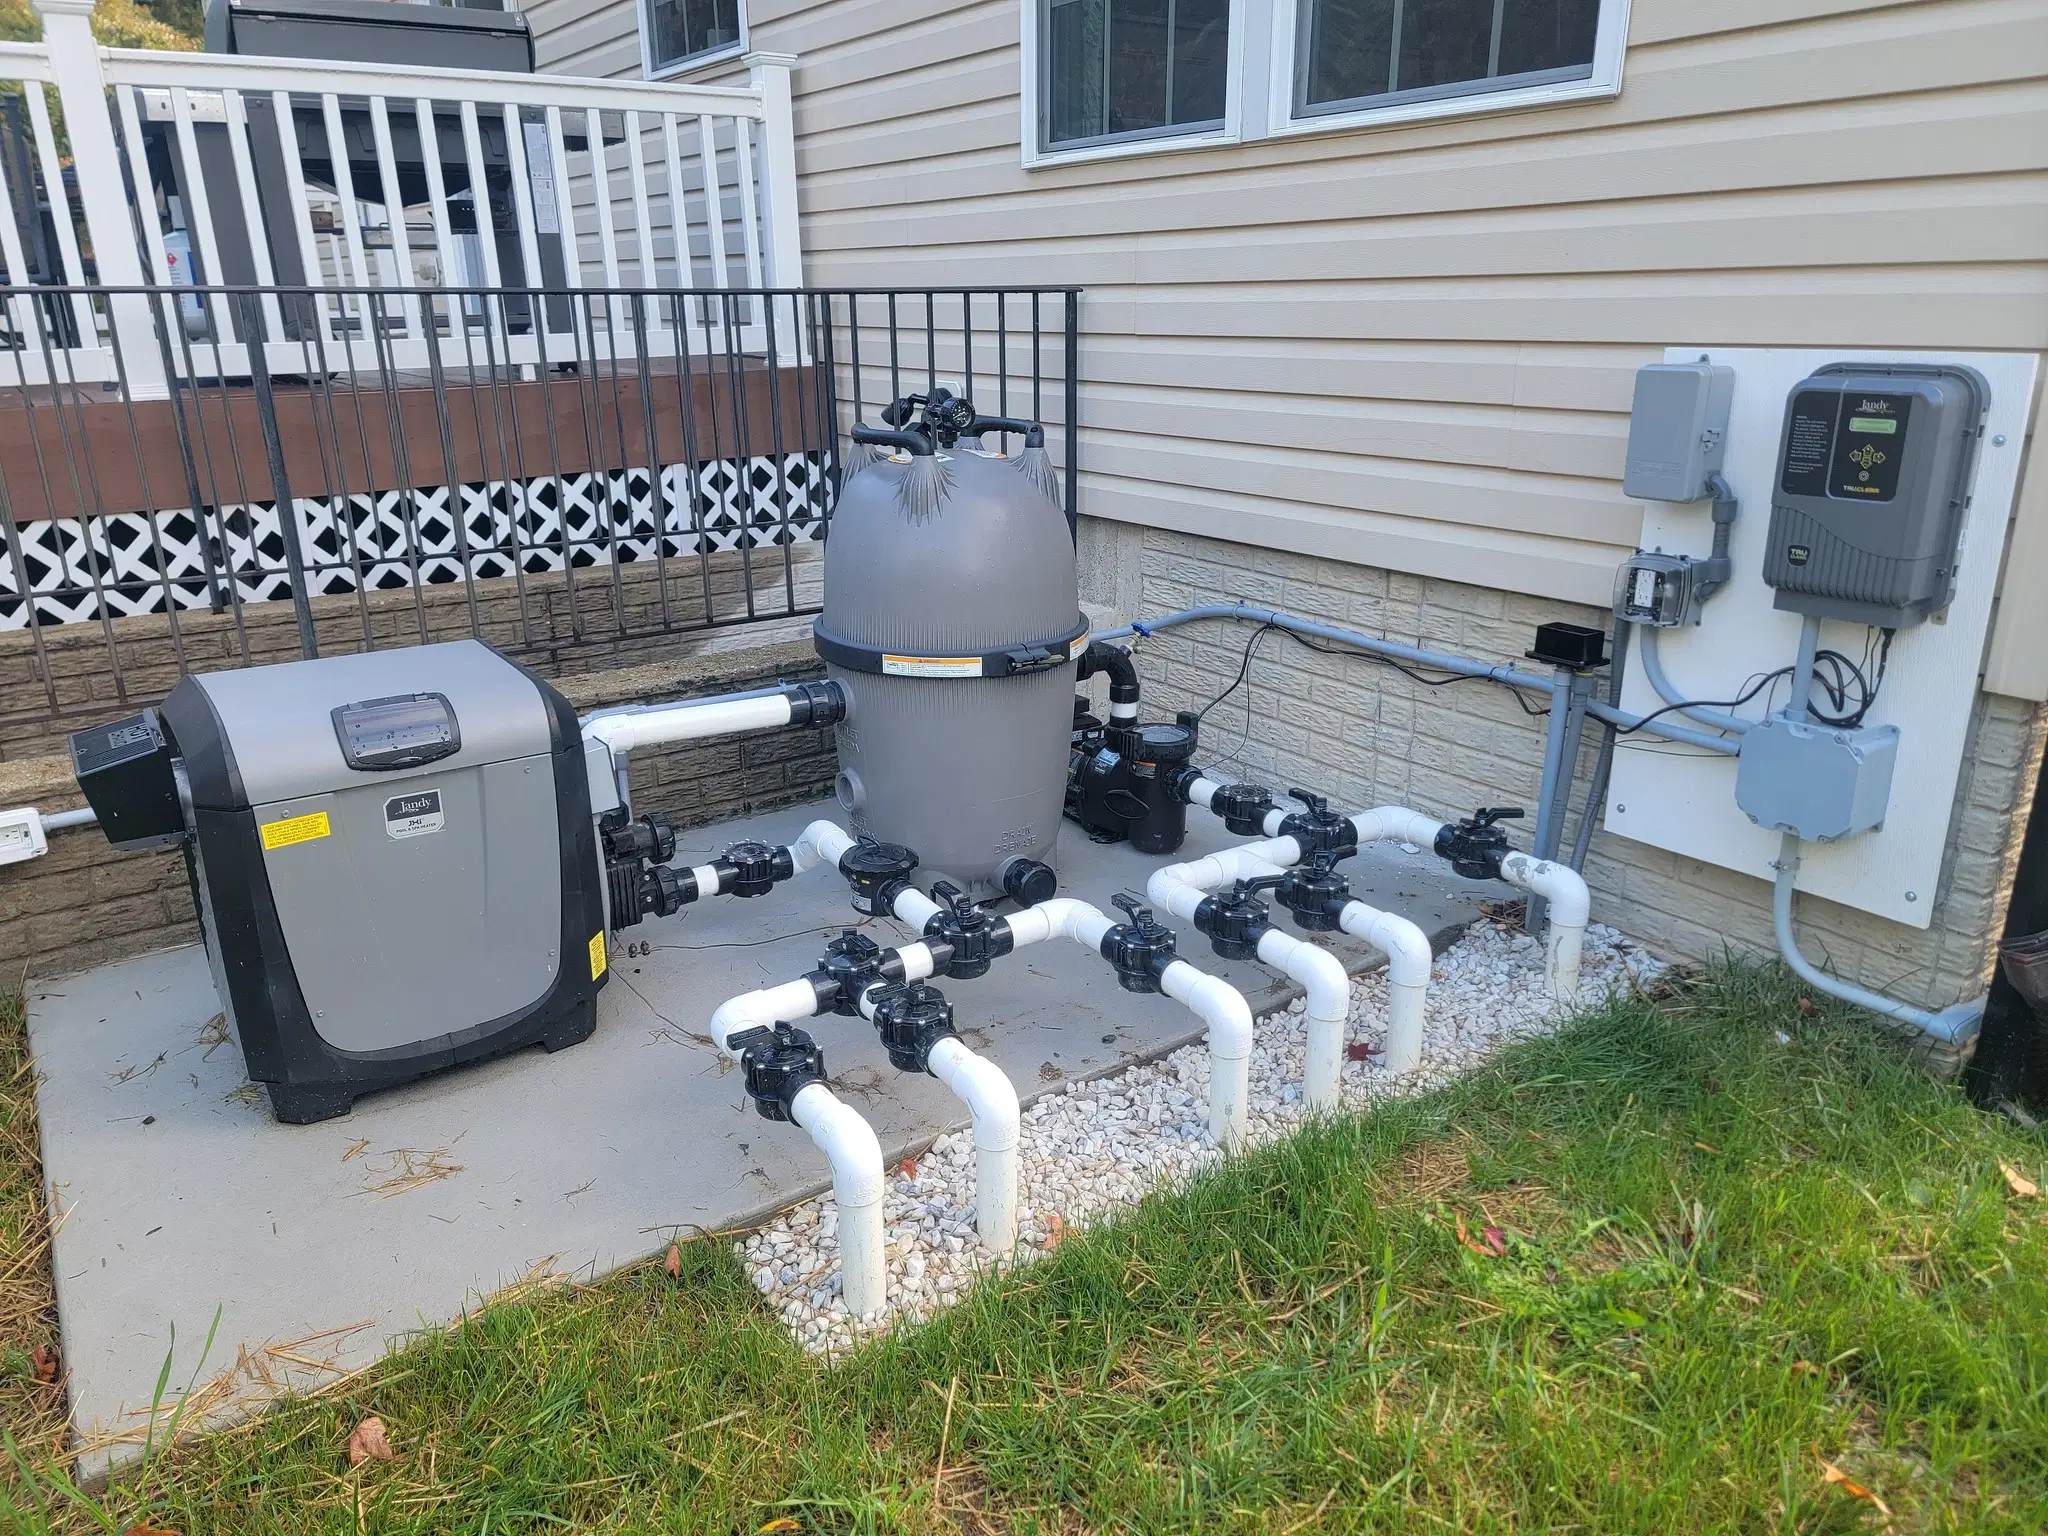
Your pool's circulation and filtration system is its heart, and it needs a careful inspection after a long winter hibernation. Rushing this step can lead to costly damage.
- Remove Winter Plugs: Take out all the winterizing plugs from the skimmer and return jets.
- Re-install Drain Plugs: Screw the drain plugs back into your pump, filter, heater, and any other equipment you drained for the winter. This is a good time to lubricate the O-rings on the plugs to ensure a tight seal.
- Inspect Equipment: Look closely at the pump, filter, and heater for any cracks or damage that may have occurred from freezing temperatures. Check all hoses and pipes for brittleness or cracks.
- Restore Power: Turn the circuit breaker for your pool equipment back on.
- Prime the Pump: Open the pump lid, remove the basket, and clean out any debris. Replace the basket and fill the pump housing with water from a garden hose until it's full. Lubricate the pump lid O-ring and secure the lid tightly.
- Start the System: Open the necessary valves to allow water to flow and turn on the pump. Check the filter's pressure gauge; it should be in the normal range specified by the manufacturer. Most importantly, walk around and check for any leaks. If you spot any issues, it's best to call a professional for pool repairs before a small drip becomes a big problem.
Step 4: From Swamp to Sparkle – Balancing Your Water Chemistry
With the equipment running, it's time to tackle the water chemistry. This is the final and most crucial step to getting that crystal-clear water you're dreaming of.
First, use a garden hose to raise the water level to the midpoint of the skimmer opening. Let the filter run for at least 12-24 hours to circulate the water and filter out suspended debris before you start adding chemicals.
Once the water has circulated, take a water sample to your local pool store or use a quality home test kit. You'll need to test and adjust your chemicals in the following order:
- Total Alkalinity: This acts as a buffer for your pH. Adjust it first to a range of 80-120 ppm (parts per million).
- pH Level: Once alkalinity is stable, adjust the pH to be between 7.4 and 7.6. Proper pH is vital for swimmer comfort and sanitizer effectiveness.
- Calcium Hardness: Aim for a level between 200-400 ppm to protect your pool surfaces and equipment from corrosion or scaling.
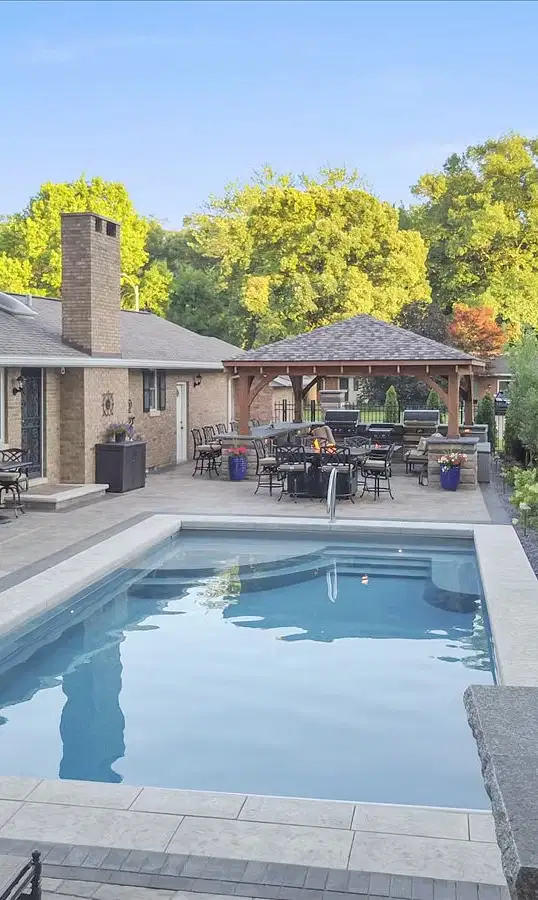
After these levels are balanced, it's time to shock the pool. A heavy dose of chlorine shock will kill off any lingering algae and bacteria from the winter. Follow the manufacturer's instructions, and always add shock in the evening to prevent the sun's UV rays from burning it off too quickly. Let the pump run continuously for the next 24-48 hours, brushing the pool daily to help the filtration process. It may take a few days, but that green or cloudy water will transform into a sparkling blue oasis.
Start Your Summer the Right Way
Following this checklist—Prepare, Clean, Inspect, and Balance—will set you on the path to a trouble-free pool season. While opening your pool yourself can be rewarding, it's also a time-consuming and technical process where small mistakes can lead to bigger issues.
If you'd rather spend your weekend relaxing than wrestling with a pool cover and complex chemicals, let the experts at Legacy Pool and Spa LLC handle it for you. We provide professional pool opening and closing services, expert equipment repairs, and reliable weekly servicing to keep your pool in pristine condition all summer long. Contact us today to schedule your pool opening and ensure you’re ready for the first beautiful swimming day in Baltimore.